Penetration Testing Lab Setup on Digital Ocean Cloud
Hello Hackers! Welcome to this new Penetration Testing series. In this first post of the series, we will create our own Penetration testing lab on DigitalOcean for free.
Introduction
“DigitalOcean offers free credits worth $200, making it an excellent option for setting up Penetration testing labs. Sign up and create your DigitalOcean account using the URL https://m.do.co/c/20b67c04f041. to claim your $200 free credits.”
Below is a basic flow of what must be done to create your Pentest lab.
- Please create a user on the Digital Ocean platform and configure it to work over SSH.
- Install essential services such as docker.
- Install and set up the needed vulnerable services such as DVWA etc.
Setup
Create a user account on digital ocean platform using the link: https://m.do.co/c/20b67c04f041.
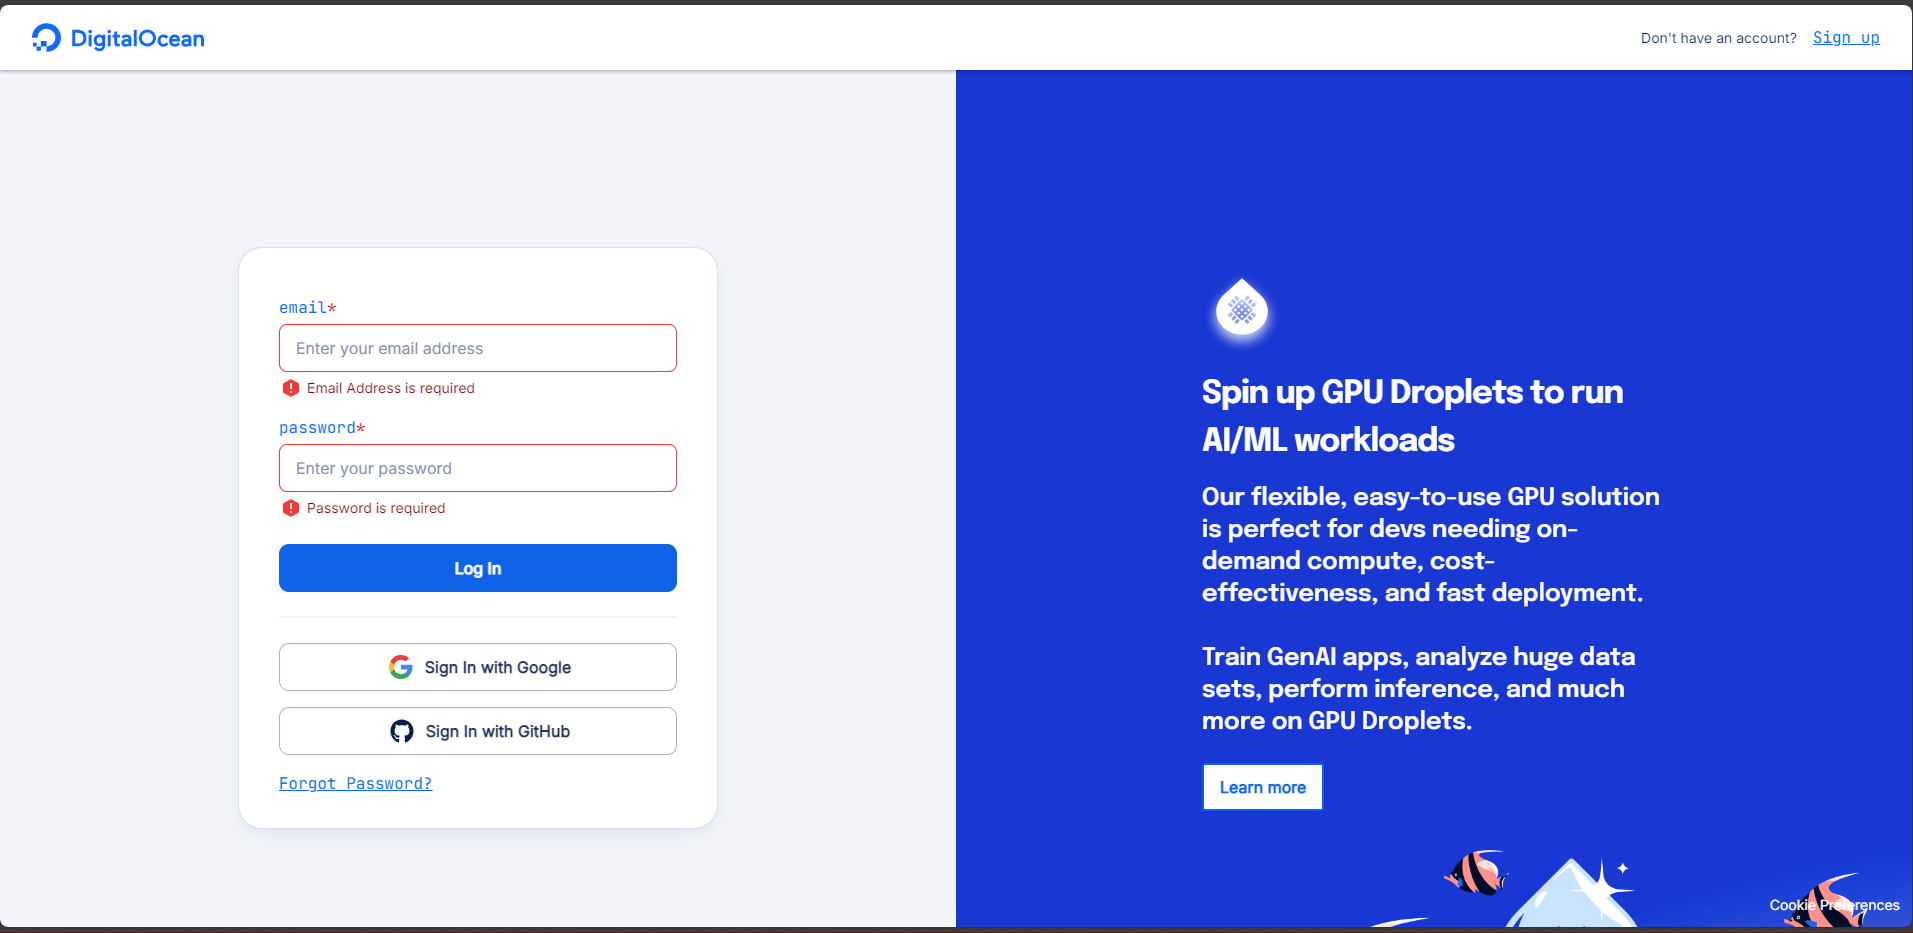
Signup
Sign into the newly created account using the login page.
Create a New Project
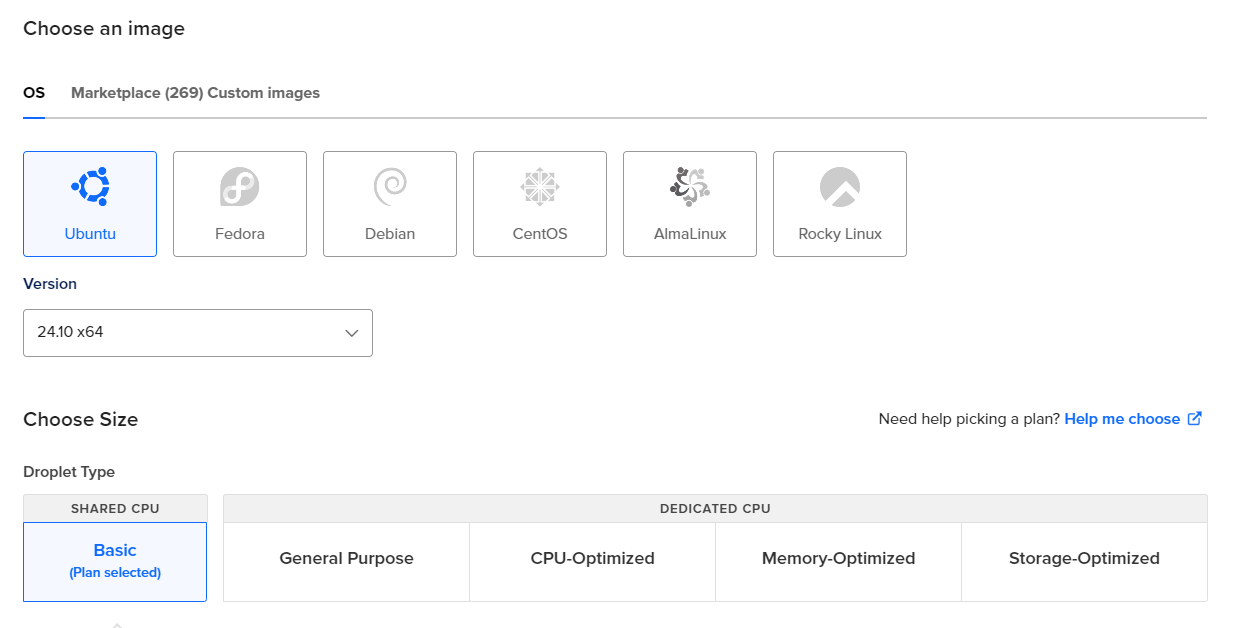
Create a new ‘Droplet’ under your newly created project. In the submenu, select the Ubuntu version you wish to use and configure the required options according to your needs.

Droplet Configurations:
1
2
3
4
5
6
7
8
9
-	Region: Bangalore (Choose the closest region)
-	VPC Network: default-blr1
-	Image: Ubuntu 24.10x64
-	Droplet Type: Basic (Shared CPU)
-	CPU options: Premium Intel disk NVMe SSD
	    $16/mo, 2GB 1 Intel CPU
	    70GB NVMs SSDs
	    2TB Transfer

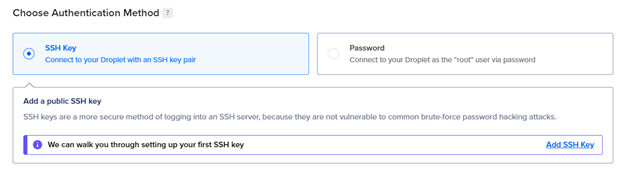
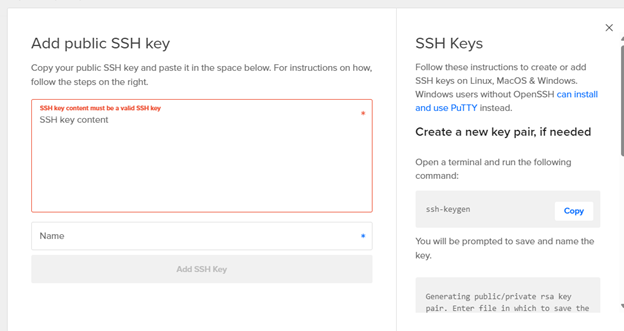
Configure SSH Key for the connection
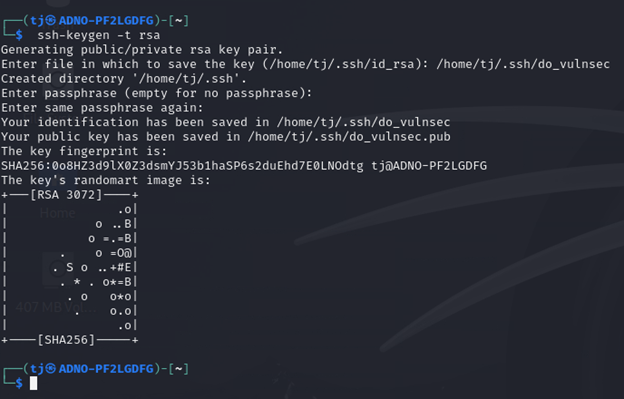
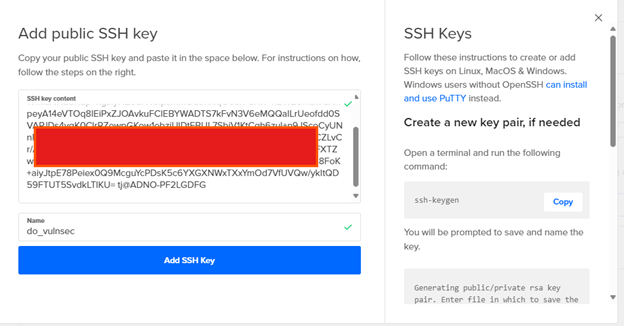
Navigate to the SSH Key Section and click “Add SSH Key”, Then you will have to go to your Kali Machine and run ssh-keygen -t rsa command and copy the Public key and paste it in the digital ocean panel.

Once you finished configuring the SSH, Click create droplet and wait for sometime to complete the process. Now that we have created our Droplet
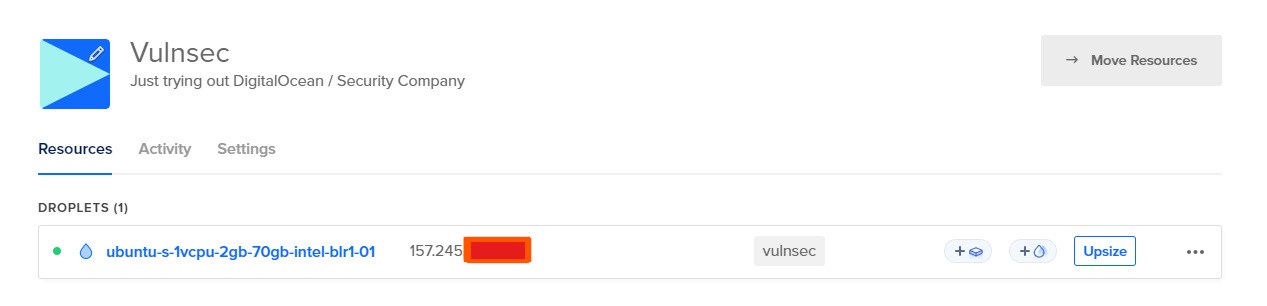
Login to the server using Public IP
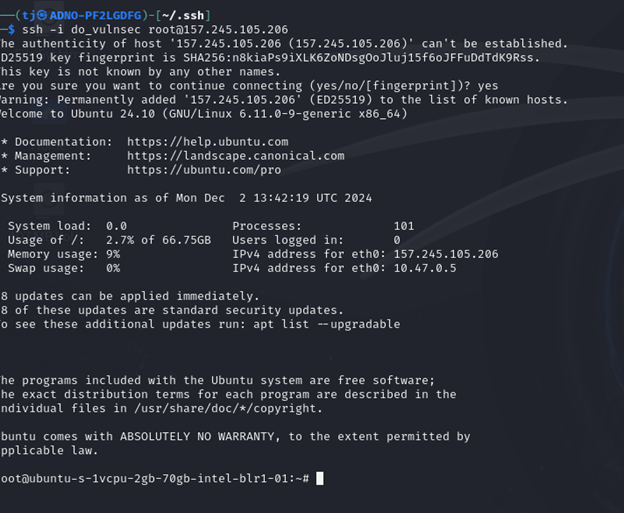
Copy the Public IP address and go to the kali machine, then login to the machine using SSH.
ssh -i <Private SSH Key> root@<Public IP>
Install Docker in the Droplet
1
2
3
4
sudo apt-get update
sudo apt-get install docker.io
sudo systemctl enable docker
sudo systemctl start docker
Installing the Vulnerable applications
DVWA container from https://hub.docker.com/r/vulnerables/web-dvwa
sudo docker pull vulnerables/web-dvwasudo docker run --name web-dvwa -d -p 8080:80 --restart always vulnerables/web-dvwa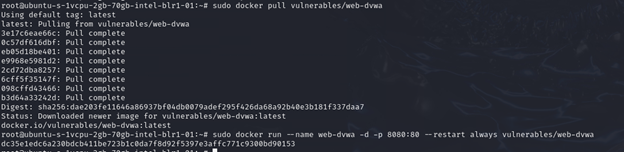
Install OWASP Juice-shop: https://hub.docker.com/r/bkimminich/juice-shop
sudo docker pull bkimminich/juice-shopsudo docker run --name juice-shop -d -p 8081:3000 --restart always bkimminich/juice-shop
Connecting to the Application
On your Kali terminal, run the below ssh port forwarding commands. Make sure to replace the
1
2
ssh -L 80:127.0.0.1:8080 -i <sshprivatekey> user@<yourdropletip> -fN
ssh -L 81:127.0.0.1:8081 -i <sshprivatekey> user@<yourdropletip> -fN

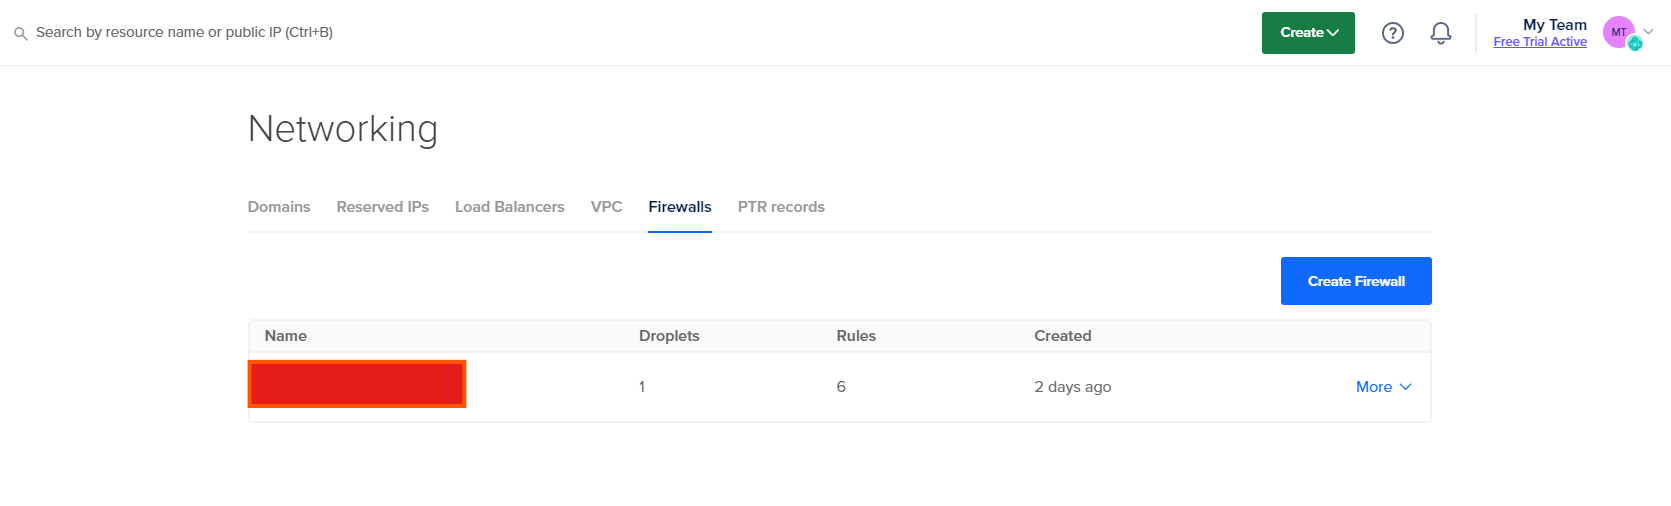
Securing the Vulnerable Application with Firewall
By default, a firewall is not enabled. If we do not restrict access, these vulnerable applications will be exposed to everyone, which is not secure. Therefore, it is essential to configure a firewall.
Click the Droplet name and Navigate to “Networking”, Then select firewall.
Keep the SSH connections as it is and create inbound rules for ALL TCP, All UDP where we only accept the source from our public IP not everyone. Get your public IP details from Here. And add the public IP in the source and remove All IPv4 and IPv6.
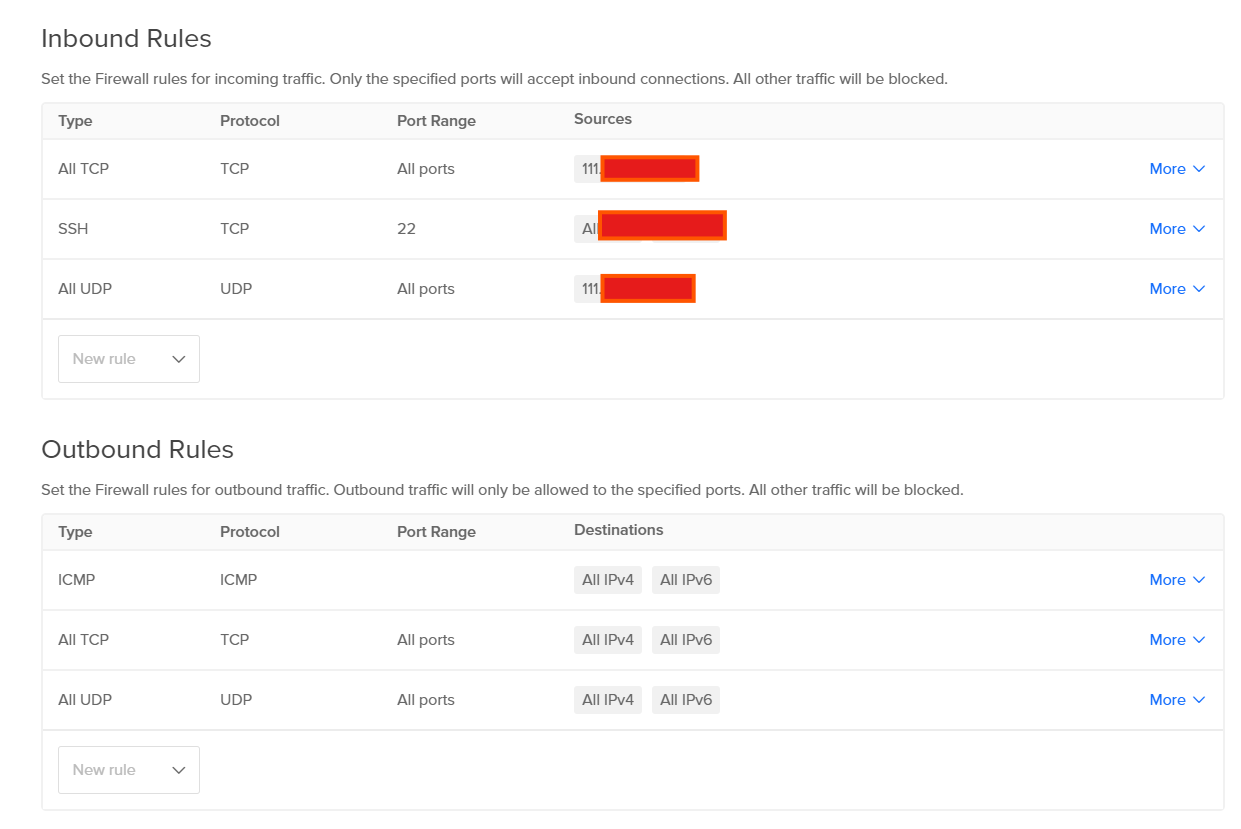
After completing the steps, click on ‘Create Firewall.’ In the firewall settings, navigate to the ‘Droplets’ tab and select the droplet by its name. Your droplet is now secured with a firewall.
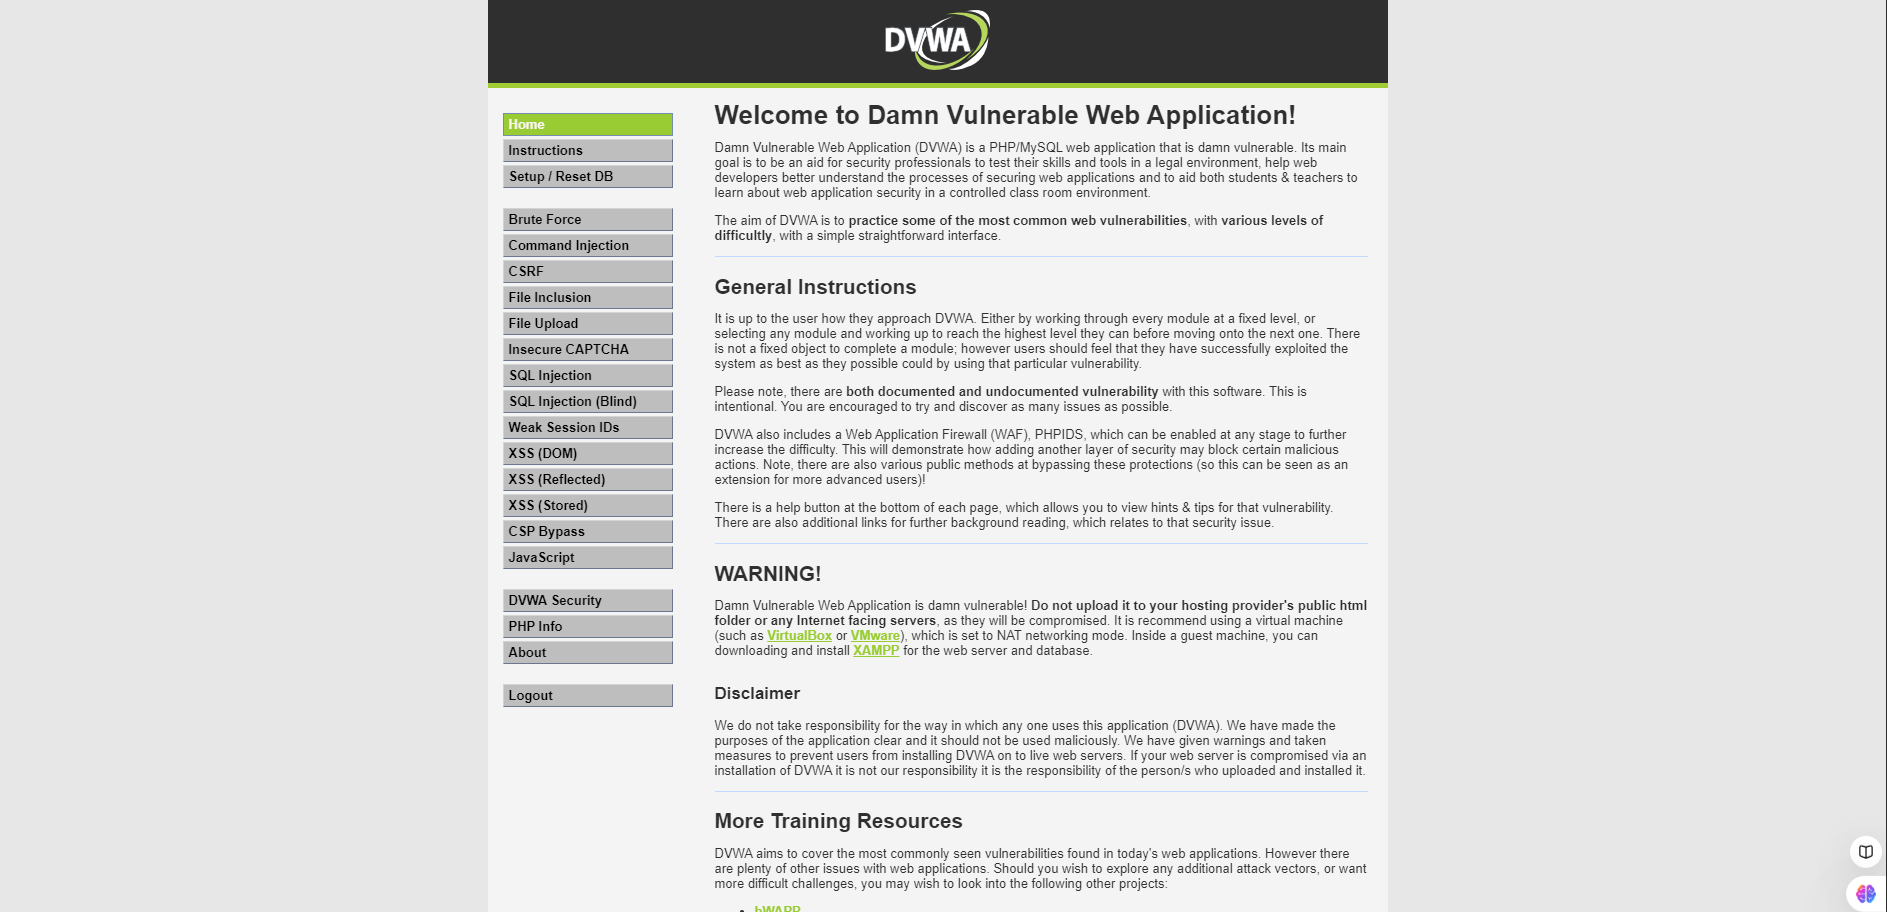
DVWA
https://
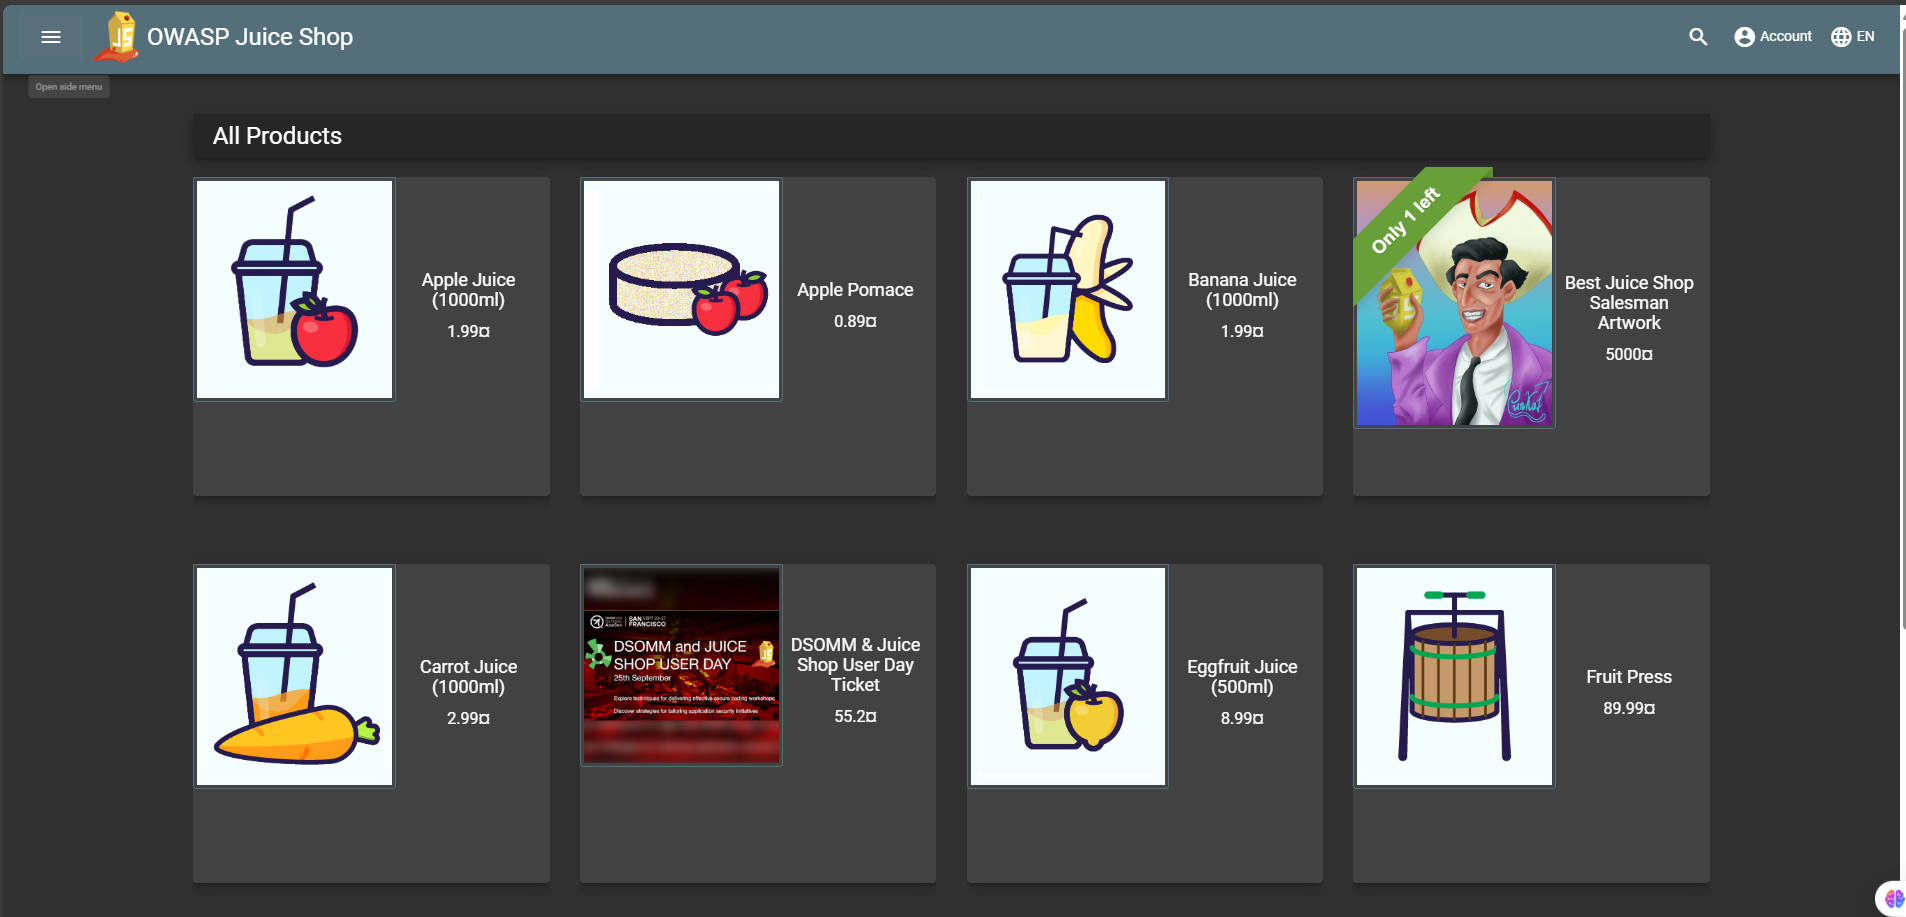
OWASP Juice Shop
https://
So thats it, Now we have successfully hosted our vulnerable application on the cloud in a secure with Docker, SSH access and the firewall rules. Im planing to make a Penetration testing series with the help of this vulerable applications and at the end i will share the Final Penetration Testing report which is align to industry standards. So Stay Tuned Guys!!!s

Happy Hacking :)