How to create secured Hacking lab with Docker Container+ Linode Cloud
Getting really good and geeky is a breeze with Kasm. It’s a tool that lets you stay completely anonymous online. If you need to do some hacking and want to keep it on the down-low, Kasm is the way to go — the ultimate hacking tool.

Requirements:
Any cloud provider account - I choose Linode with 100$ Free Credit [https://cloud.linode.com/]
A Server with 2 VCPS, 4GB Ram and 50GB Storage (SSD).
Setup Kasm — Kasm Workspaces | The Container Streaming Platform (kasmweb.com)
Kasm Workspaces platform provides enterprise-class orchestration, data loss prevention, and web streaming technology to enable the delivery of containerized workloads to your browser. First we install Kasm in the server and then it will open up the secure web browser and stream the docker container through the web browser. It is using kasmVnc to stream the docker containers. Streaming containerized apps and desktops to end-users.
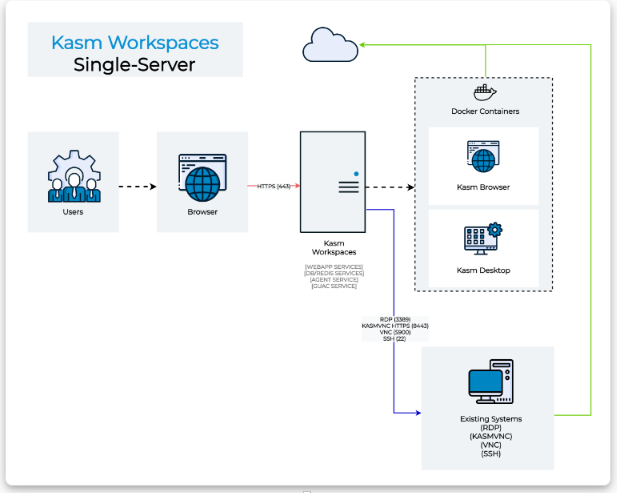
Kasm Workspaces Single Server
- Setup Linode Cloud with 100$ free Credit. Will have to wait for 10 Minitues to Activate the account.

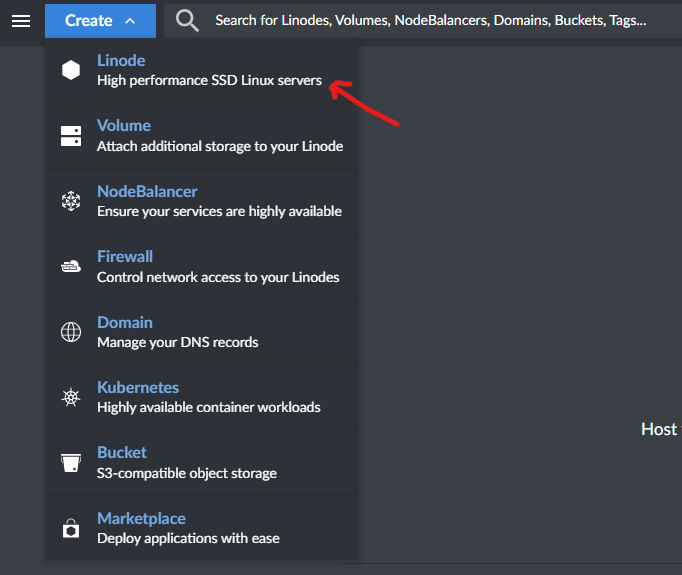
After Activate the Linode Account, you need to create the VM. For that Click Create in the Top of the page and select Create Linode.
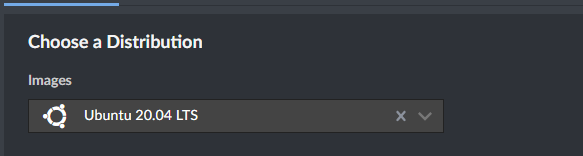
Now you need to select the Linux Distribution with the minimum requirement. So First need to select the Images, I used Ubuntu 20.04 LTS here.
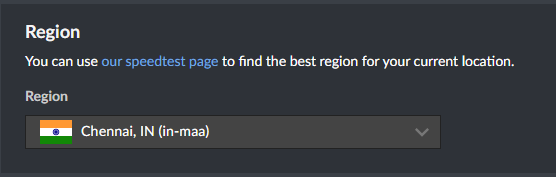
Select the Region as Chennai since it is near to me.
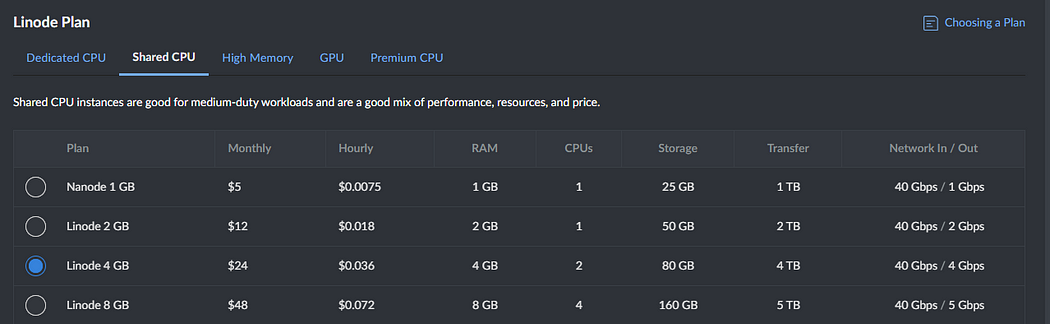
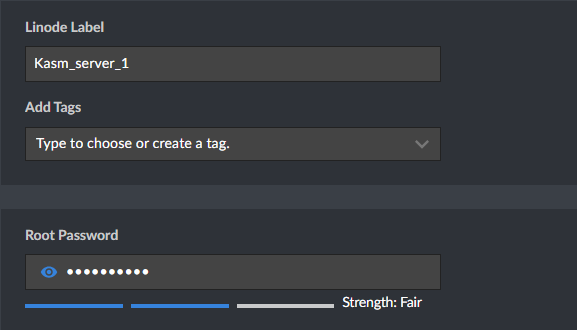
Now you need to select the Linode plan. I choose “Shared CPU with Linode 4GB” and Give any Label name and the root password.
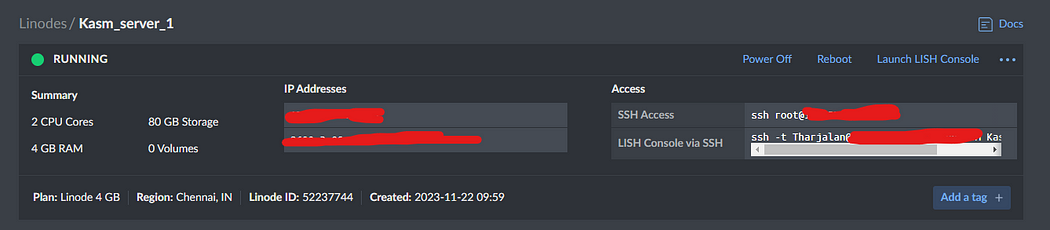
Finally Provisioned the VM and the stats is running.
2. Connect to Linode Server from CMD
Open CMD and type ssh root@<IP Address> and then accept the ssh connection by giving “yes” and provide the root password. Now the server is connected.

3. Install Kasm in the Linode server from CMD.
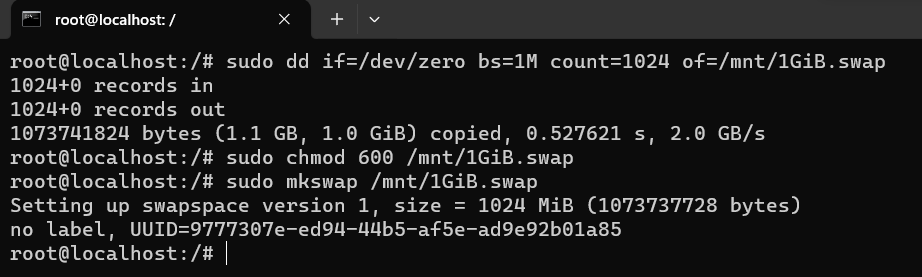
Step 01 — Setup a SWAP Partition — For stability and it will allows users to run more applications simultaneously without experiencing slowdowns or crashes caused by low memory conditions.
1
2
3
4
sudo dd if=/dev/zero bs=1M count=1024 of=/mnt/1GiB.swap\
sudo chmod 600 /mnt/1GiB.swap \[To upgrade the permision\]\
sudo mkswap /mnt/1GiB.swap \[Make Swap\]\
sudo swapon /mnt/1GiB.swap \[Turn on Swap partition.\]
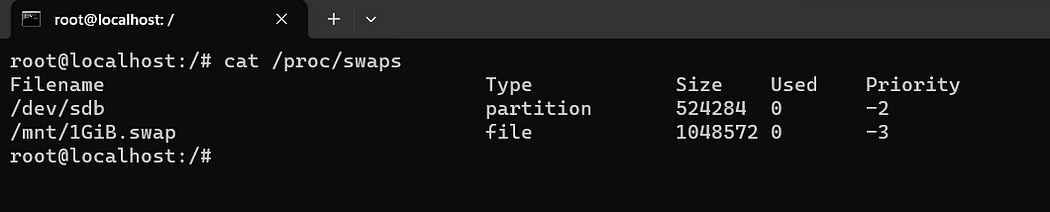
 Verify the created Swap by running “cat /proc/swaps”
Add the following command to get the swap whenever there is a reboot.
echo \'mnt/1GiB.swap swap swap defaults 00\' \| sudo tee -a /etc/fstab

Step 02 — Install KASM Get the Kasm package from S3 AWS bucket with Wget command.
wget https://kasm-static-content.s3.amazonaws.com/kasm_release_1.14.0.3a7abb.tar.gz\ To unzip the package - tar -xf kasm_release_1.14.0.3a7abb.tar.gz\ Navigate inside the "Kasm_release folder and run sudo bash install.sh
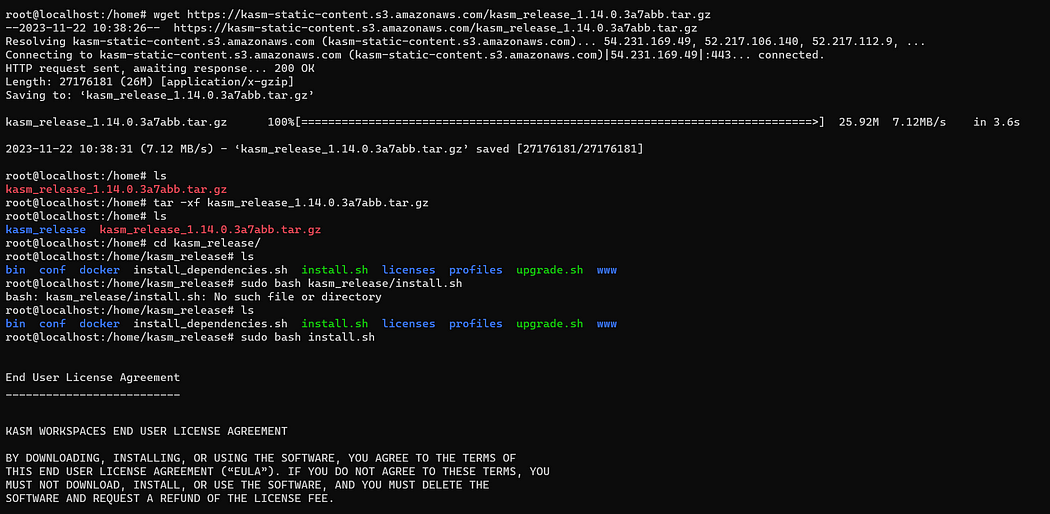
After the installation you will the success message and the user credentials for the kasm database. Save it in the secure location.
Step 03 — Test the Kasm UI from out Linode’s Public IP.
Kasm is working on our Linode’s server.
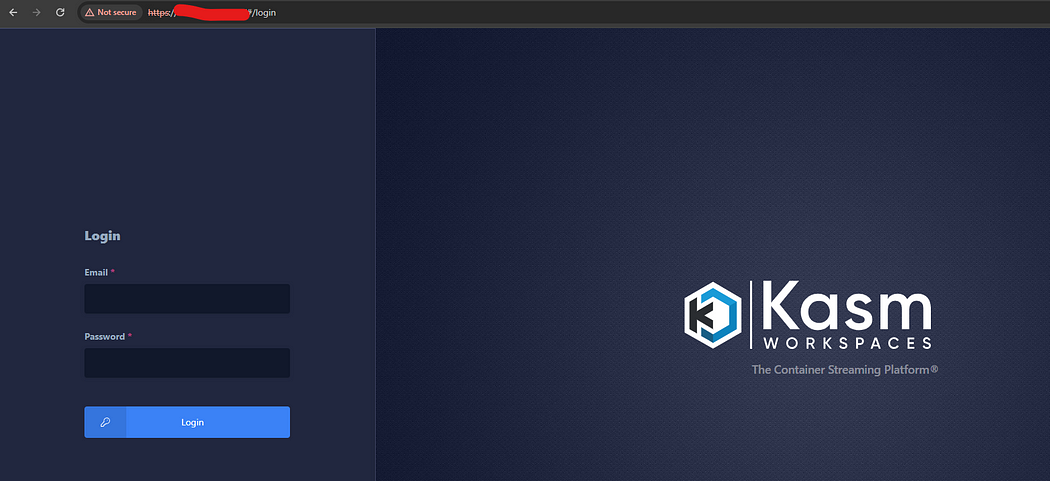
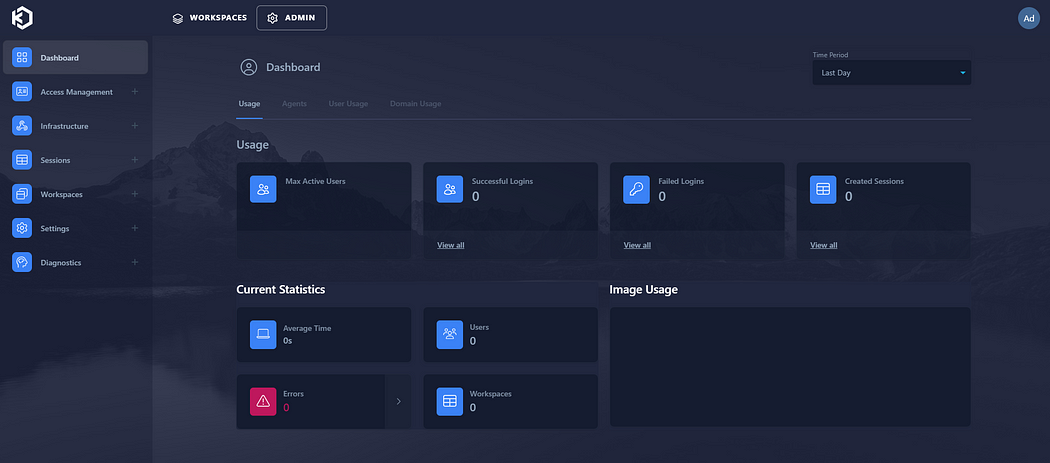
Now login with the Kasm Administrator credential that you got from the installation part. And this is the kasm dashboard.
Step 04 — Kasm Workplaces —
Navigate to Workplaces in the top of the dashboard. And can see the pre build containers are there.

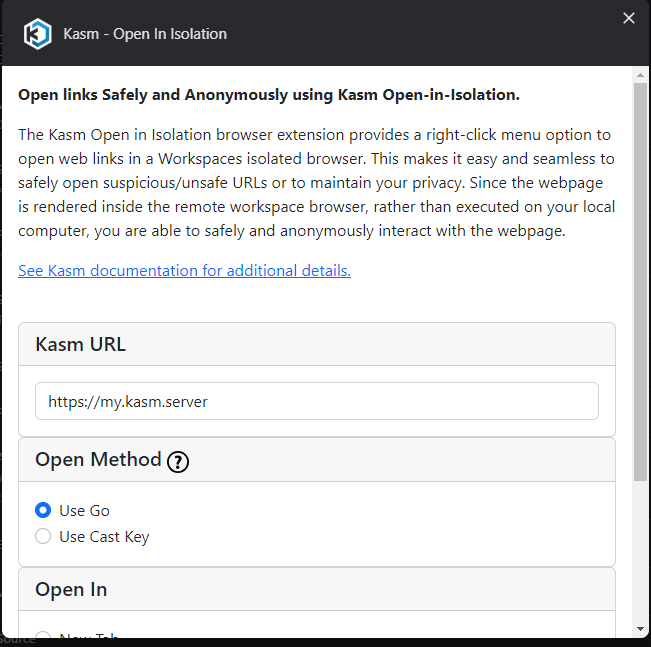
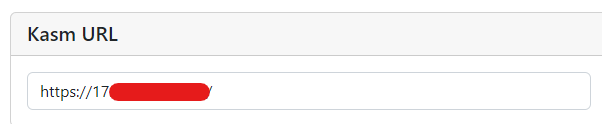
For example lets see how we can browse the internet securely with kasm. For that we need to add a chrome extension called kasm — open in isolation. After added go the extension and click options. Now need to change the Kasm default URL to our server URL.
Now we need to select the default browser image. For the Navigate to kasm profile and select settings. There change “Default Workspace Image as Brave” So each time user open any link from internet, it will bootup the vm and open the brave browser inside.
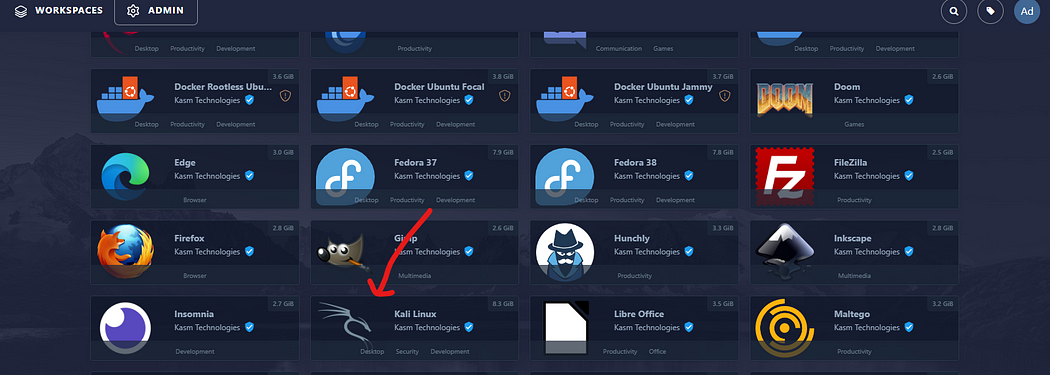
Step 05 — Bootup Kali Container in Kasm
Kali is already enabled in the workplace. Just need to click install.
After installed it will be come under our workplace and we need to change some settings.
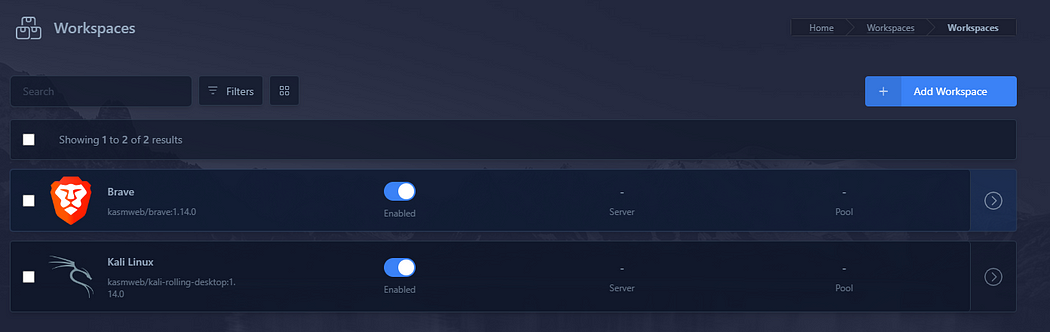
Now click Edit the kali and go to “Docker Run Config Override (JSON)” and put this line {“user”:”root”}, so whenever the kali machine boot, we will get the root user.
Now go to Workspaces and Start the session for Kali Linux.

Fixing Black Screen issue while starting the session.
Delete the session and go back to Admin -> Workspaces -> and Edit the “Docker Run Config Override (JSON)” and add the following line
{ "user":"root","security_opt": \[ "seccomp=unconfined" \] }
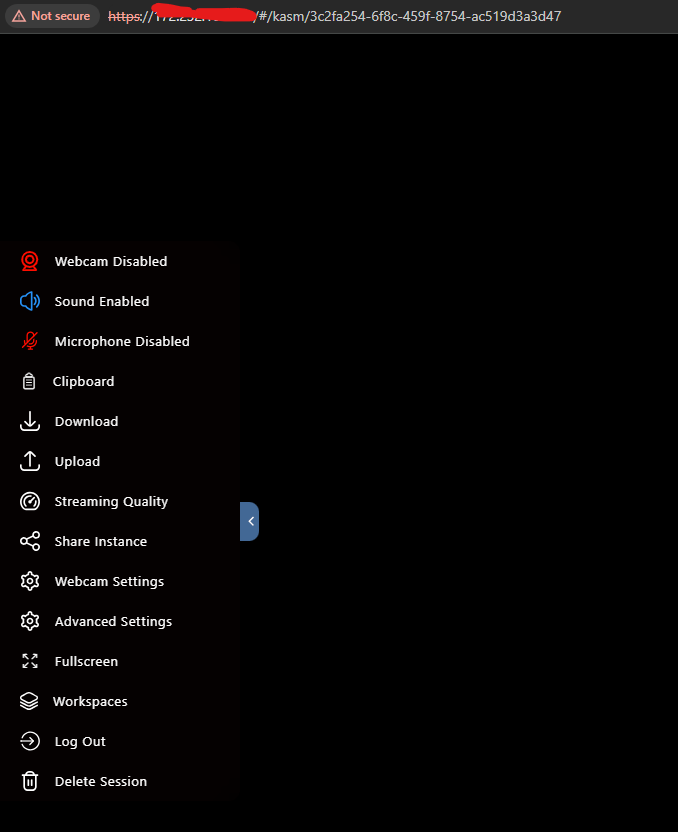
Now we started the Kali Linux Session.

After we delete the session all the footprint will be gone, when we start the new session, we will get it as a new Operating system. It’s good to hide ourselves anonymously.
Happy Hacking :)